Showing posts with label Decorating. Show all posts

March 26, 2012

Spring Wreath and Decor...

I decided to make another yarn wreath for the spring time. I used the same technique as the Valentine's Day Wreath. I wanted to try a "grassy" green one but found great green yarn on clearance at Jo-Ann Fabrics and went with the cheap stuff!
Materials you need to create your own yarn wreath:
     *Yarn
     *Wreath (any kind,I used the straw one in this project)
     *Hot glue gun
     *Felt in a variety of colors
     *Scissors
I wrapped the yarn around the straw wreath (keep the plastic on the wreath makes it easier to wrap the yarn around) and tied off the end. (Not sure why I had the Peacock feather laying there!)


I created a variety of flowers out of felt, using the same technique as I did for the Valentine's Day wreath, and hot glued them on.


I hung the wreath above the shelves and added some greens in tin cans that I bought at Ikea, birds that I used on the Valentine's Day Shelves, Spring banner from Target, Page out of a magazine and placed it in a yellow frame that I already had, and added some old bunnies that I had on hand.


This weather has been gorgeous here... makes it feel like summer instead of spring.


Enjoy!
  ~Amy

March 6, 2012

Chevron Covered Photo Mat

I really liked the picture frames in the dining room, but they needed some sprucing up. I ordered this yellow chevron fabric from fabric.com a while ago for pillows, and thought it would look nice in these frames.
CHEVRON COVERED PHOTO MAT

(I think black and white photos will look better in the frame, so I just ordered some.)
The materials you will need are:
     *Fabric
     *Spray Adhesive
     *Scissors
     *Hot Glue and Glue Sticks
     *Ruler or Tape Measure
     *Frame with a Mat

First, spray paint the picture frame with four light coats of white paint
Take apart the picture frame and take out the mat
Measure the picture frame and then cut the material that size, leaving enough fabric to wrap around the mat.

Wrap the fabric along the mat and use spray adhesive to get the fabric to stick to the front of the mat.


Use hot glue to secure the fabric to the back of the mat.
Finally, put the frame back together and hang back on the wall.


Cover any photo mats lately? Take any pictures of your kids? Time to hang a new one on the wall!
Enjoy!
  ~Amy

March 5, 2012

Stripes have Appeared!

Finally, we have stripes on the hallway walls. I only got two walls completed, because I wanted to make sure it looked good before I painted them all. I am not going to lie, this was very time consuming! I will get into how to make stripes on the walls in a second, but for now here they are- ta-da!


To make stripes on the walls, you have to first determine how many stripes you want and if you want an odd number or even number of stripes.
I measured from the floor to the ceiling and divided that number by the number of stripes I wanted. It came to be a little over 7 inches.
I rounded down to 7 inches and left the remaining measurement for the bottom stripe. You can't tell that one is bigger.
So I measured 7 inches down from the ceiling and made an X with my pen:
Then, I set up the laser level. I am in love with the level- it is awesome! Why didn't I purchase one before? I placed the level on the X that was marked on that wall:
I then remeasured with my tape measure to make sure the red laser line was 7 inches down. I then placed a piece of painter's tape on the line and then remeasure again to make sure it was 7 inches. I kept doing this unto the wall was completed. I then moved to the second wall and followed these steps again.
I placed a piece of tape on the stripe I wanted painted so I didn't forget which stripe was to be white.
I painted two coats of off the shelf white from Behr in Eggshell. I allowed 24 hours before applying the second coat. I did not have any problems when I riped the tape off of paint bleeding under the tape.

See all of the tape that I used.... A LOT...................... 
It was finally completed after six hours of working off and on.
I only have three more walls to complete, hopefully, I can get them done this week after work!

What did you get done this weekend? Did you organize a drawer or closet? Did you paint an end table? Doesn't it feel so good to get projects completed?
Enjoy!
  ~Amy

February 29, 2012

Hallway Stripes Inspiration...

I have always wanted to paint stripes in the hallway, but felt is would be too time consuming. Well, I was right. So while I am tackling that project, I will show you some of the inspirational pictures that will make you drool.
This one is from Melissa at the Inspired Room-

Sherry and John from Young House Love Painted Stripes in their Old Bathroom-at the Old House
new-half-bathroom-web

This one from It's the Little Things that Make a House a Home:

Stephen and Brittany's Hallway:
Pinned Image

So while the girls are visiting their aunt tonight, I'll be measuring and taping, using the level again and again. Wish me luck!
Are you a fan of stripes?

Enjoy!
  ~Amy

February 28, 2012

Ikea Finds...

I went to Ikea a few weeks ago to browse for things I need for my new craft area I am creating in the enclosed patio area of the house. I can't wait to start that project. A place where everything will be organized and I don't have to search through drawers and cabinets to find what I am looking for. There will be areas to store:
    
     *Fabric Scraps and Fabric
     *Media Equipment
     *Scrapbooking Materials
     *Glue Products
     *Coloring Products
     *Kids' Books and Art Supplies
     *Paper and Stickers
     *Catalogs and Magazines
And the list goes on and on...
While I was at Ikea though I spoted some cute things that I picked up.
These plants were ONLY a dollar and the little silver tins/pots were seventy-nine cents. Talk about a steal. I also like having the sheepskin rugs to throw over a basket of toys or a chair. The three little picture frames are for the gallery wall I am planning once the hallway painting project is completed. (More on the hallway tomorrow)

To place the pots in the pots, I first placed rocks in the bottom:
Then I placed the plants inside the pots:
I am happy to say the plants are still alive. You only have to water them once the soil is dry.

Plant anything lately? Are you building a craft area in your house?

Enjoy!
  ~Amy

February 27, 2012

Painted Kitchen....

After painting the dining room the blue-gray-green color, I also thought the kitchen needed some paint too.
I pulled out the fridge to paint behind it and then painted the other walls.


Since the kitchen is so little it didn't take much time to complete this project. I just trimmed along the cabinets and countertops.


Now that the painting is finished, I still have to:
     *Paint the cabinets
     *Install New Microwave
     *New light fixture
     *Install new French doors
     *New hardware on the cabinets (you can see the one handle is broken)
     *Maybe update the countertops
My to-do list goes on and on. Does yours also? I guess our houses are never really how we want them to be!


Enjoy!
  Amy

February 23, 2012

Fill Your Vases...

After I took down all of my Valentine decorations, I was left with empty apothecary jars.

I found two vase fillers at Target to help fill the space. One was lemons and the other was wine corks. I am still thinking of what to put in the other one. I have seen pictures of tulip bulbs planted before and loved the way it looked. All you have to do is put rocks in the bottom of the jar and place the bulb standing up. Lastly, you just add a little water, but not too much that it covers the bulb. I may try that over the weekend.


(sorry for the lock- we have to lock our children out of the buffet or they throw our glass vases!)

Use vase fillers for anything lately? I just finished my order from my thirty-one party. I can't wait to show you what I got.
Enjoy!
  ~Amy

February 22, 2012

Go Ahead and Paint on Your Table Runners

I had this plain white table runner around for a while now. IT WAS BORING! I purchased it from Pottery Barn about two years ago. I  needed something to dress it up, and had wished I got it monogrammed when I ordered it. When shopping in Jo-Ann Fabrics one day I had noticed that there were fabric pens and thought that I could monogram it myself.


I printed out a W from the computer and used my scissors to cut it out.


I then traced the W on the fabric, measuring first where I wanted it to be on the table runner.


I filled in the W with the fabric pen and ironed over it to seal it.


I then placed it over my burlap table runner from Valentine's Day (that I turned upside down) and here you have it?


Have you colored on any table runners lately?

Enjoy!
  ~Amy

February 21, 2012

The Entry Way's Beginning...

I hate my entry way- did I ever tell you that?
It is small, too crammed to sit down, and not a lot of style. I knew I needed to come up with a solution for all of our winter gear: gloves, hats, and scarfs.
Entry way when we started:


I had a stand I bought a while ago for the downstairs bathroom, but since I have a new idea for in there, the stand wasn't being used. I got it from Ikea a while ago, but I don't remember the name or how much it was.


I got the baskets the other day at Target for $12 a piece. I then bought the unfinished numbers from amazon.com for $4.00 a piece.


I spray painted the numbers black. I then used a piece of painter's tape so when I drilled the hole it didn't split the wood. I drilled a hole in each number and then attached the numbers to the basket using twine.


I really like the way it looks. I also added a mirror on the other wall and hope to add some picture frames as well.


I have to now add some more picture frames, hang a new light fixture, maybe update the banister, add corner round around the flooring, and the list goes on and on...


I love organizing.... I had a Thirty-One party this past weekend and it was a lot of fun! They have so many awesome organizing bins, baskets, and bags. I think my wish list is at $500. I can't wait to order.

Look who came to the party to visit Emma- our friend Beth's little boy. Isn't he adorable?


(Look at all of these awesome bags!)

 
Enjoy!
  ~Amy
Do you label your baskets? Do you have baskets in your entry way?

February 17, 2012

The Dining Room with Stuff in it!

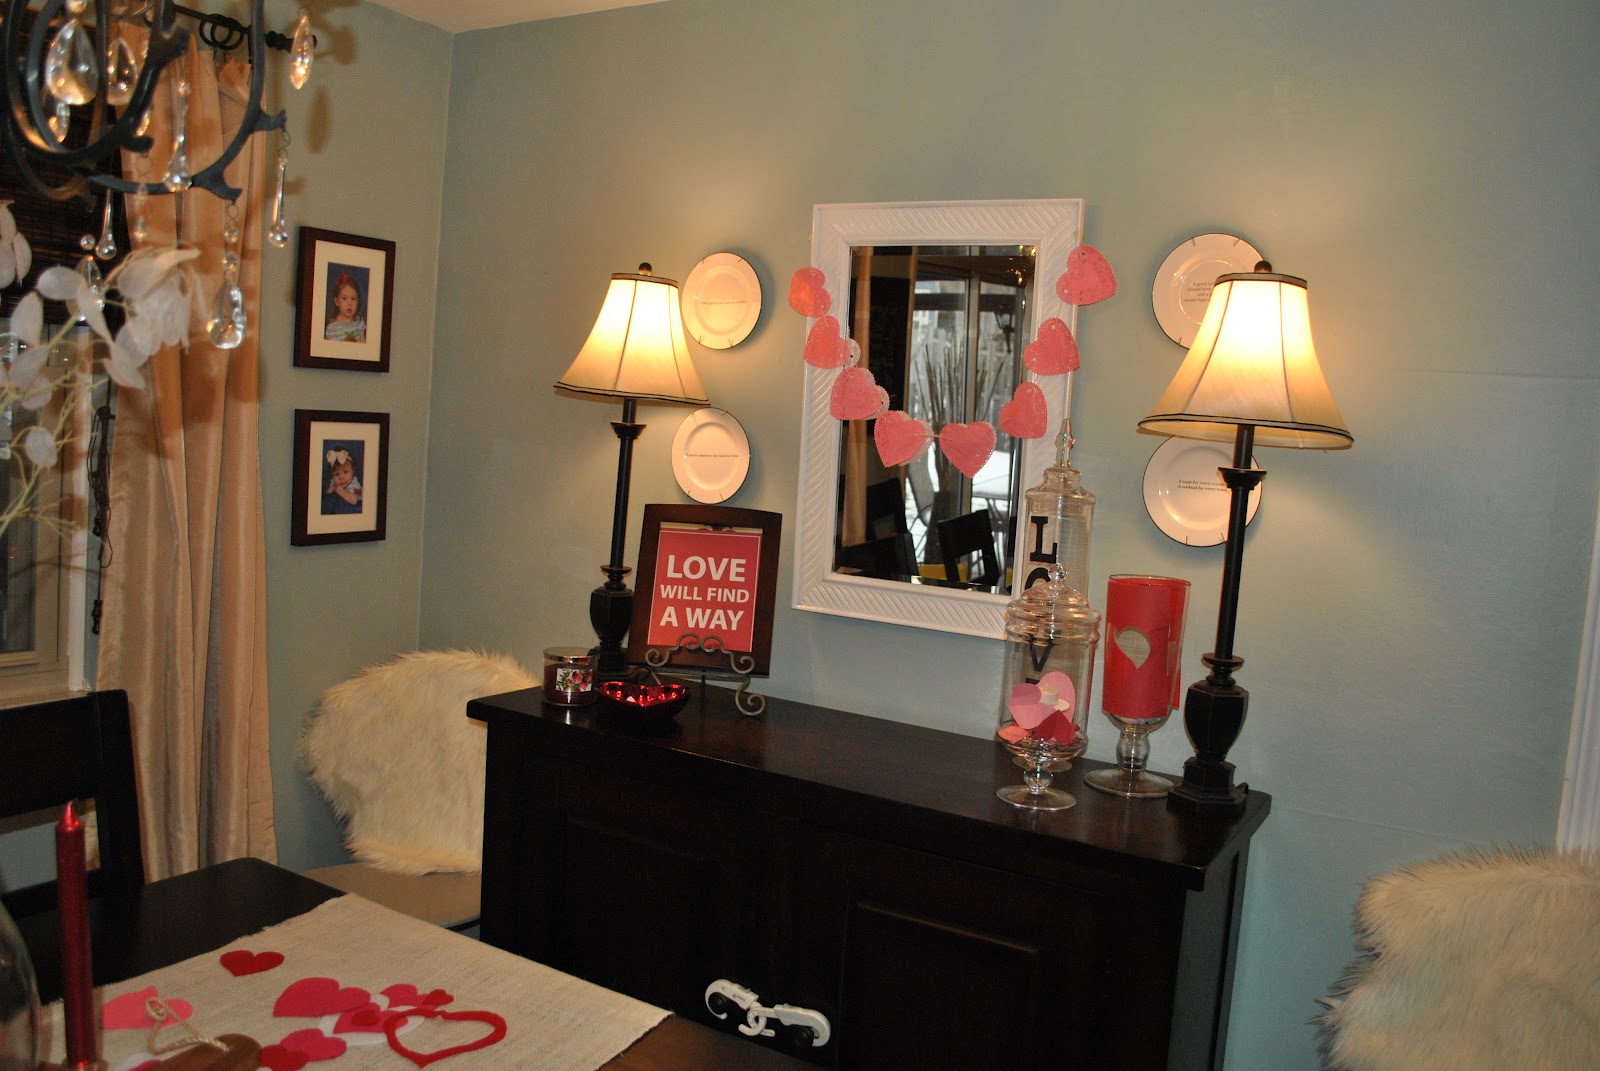
After I finished painting the dining room, it needed decorated. I laid the brown mirror up against the wall that was there before, but it didn't do anything for the room.
So, I switched it out for the white mirror that was in the hallway before- then on the shelves in the living room.


I used these plate holders that I found on amazon.com to hang plates I got from a dear friend for Christmas.
I hung two pictures frames with the girls' pictures that I already had. I thought about painting these- we'll see.

The chalkboard and curtains I already had in the dining room. So here it is...... finished for now.

Just because it is Friday and we need a little Emma love.. she was home when I was working on the room. Addyson was at her aunt's house


Happy Friday! Doing anything fun this weekend?


Enjoy!
  ~Amy