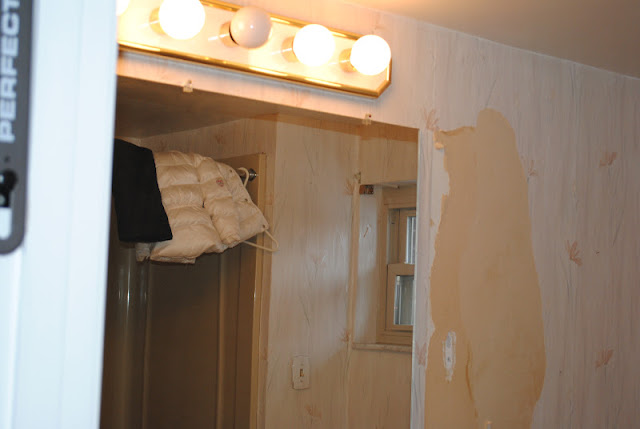
We have been working on the downstairs bathroom for a while now. Lets take a look back at what it used to look like:

 Old light and wallpaper.... really makes you feel ill how ugly it is. Note- not really sure why the toilet brush is laying on top of the toilet????
 We refinished the cabinet and installed a new toilet into the space. I just sanded the cabinet down and then applied three coats of Zinsser primer- Perma-White Mold and Mildew proof. I coated the cabinet with three coats of white bath paint off the shelf color from Home Depot. I don't remember the name of the paint and already threw the can away.
The hardware is brushed nickel- Martha Stewart brand.

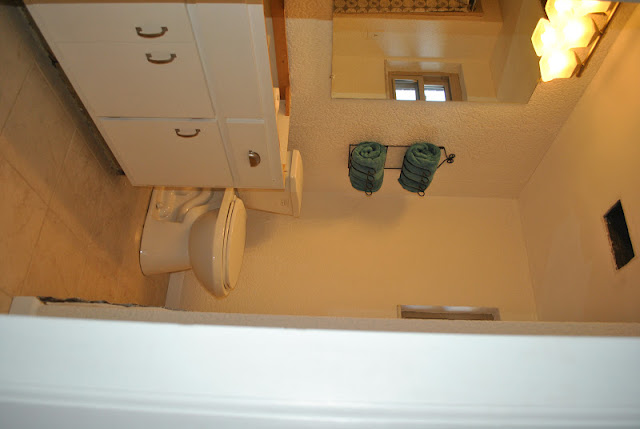 You can see the swatches on the top of what countertop color we are thinking of purchasing.
We also added a towel holder we already owned to the wall.


This is the old vanity and toilet. We ripped off the countertop and threw it away. We also threw the old toilet away.


The hardware is brushed nickel- Martha Stewart brand.

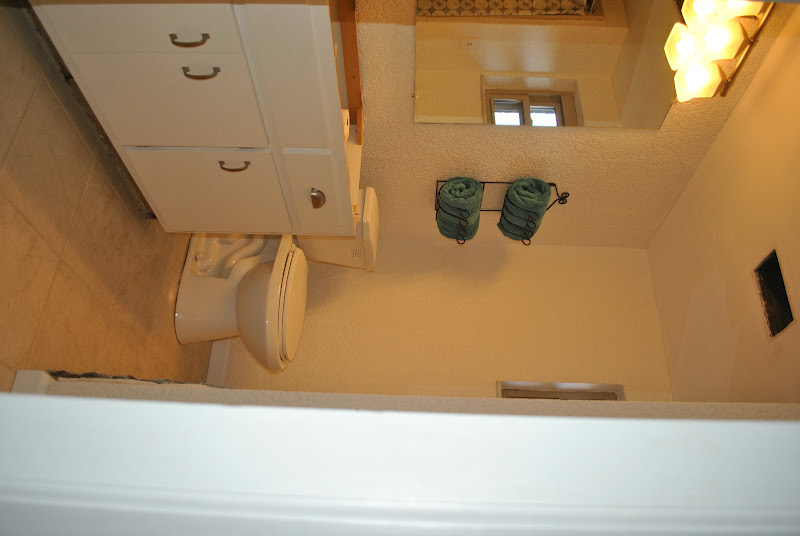
We also added a towel holder we already owned to the wall.

We are keeping the existing shower- just going to replace the shower head.


Still have to:
*Find a bathroom rug I like
*Window Treatment
*Trim under the vanity
*New countertop, sink, and faucet
*New vent cover for the ceiling vent cover
*Trim down bathroom door and rehang
*Trim in between the carpet and ceramic tile
*Trim around the mirror
Guess everything takes time. Speaking of time, I don't know how much more time I can work on these stripes. Hopefully, the stripe walls will be done by Friday.
Enjoy!
~Amy
*Find a bathroom rug I like
*Window Treatment
*Trim under the vanity
*New countertop, sink, and faucet
*New vent cover for the ceiling vent cover
*Trim down bathroom door and rehang
*Trim in between the carpet and ceramic tile
*Trim around the mirror
Guess everything takes time. Speaking of time, I don't know how much more time I can work on these stripes. Hopefully, the stripe walls will be done by Friday.
Enjoy!
~Amy
(You can't really tell by the pictures, but we also laid new ceramic flooring. We had to ripe out the old stuff which took forever.)


