March 5, 2012

Stripes have Appeared!

Finally, we have stripes on the hallway walls. I only got two walls completed, because I wanted to make sure it looked good before I painted them all. I am not going to lie, this was very time consuming! I will get into how to make stripes on the walls in a second, but for now here they are- ta-da!


To make stripes on the walls, you have to first determine how many stripes you want and if you want an odd number or even number of stripes.
I measured from the floor to the ceiling and divided that number by the number of stripes I wanted. It came to be a little over 7 inches.
I rounded down to 7 inches and left the remaining measurement for the bottom stripe. You can't tell that one is bigger.
So I measured 7 inches down from the ceiling and made an X with my pen:
Then, I set up the laser level. I am in love with the level- it is awesome! Why didn't I purchase one before? I placed the level on the X that was marked on that wall:
I then remeasured with my tape measure to make sure the red laser line was 7 inches down. I then placed a piece of painter's tape on the line and then remeasure again to make sure it was 7 inches. I kept doing this unto the wall was completed. I then moved to the second wall and followed these steps again.
I placed a piece of tape on the stripe I wanted painted so I didn't forget which stripe was to be white.
I painted two coats of off the shelf white from Behr in Eggshell. I allowed 24 hours before applying the second coat. I did not have any problems when I riped the tape off of paint bleeding under the tape.

See all of the tape that I used.... A LOT...................... 
It was finally completed after six hours of working off and on.
I only have three more walls to complete, hopefully, I can get them done this week after work!

What did you get done this weekend? Did you organize a drawer or closet? Did you paint an end table? Doesn't it feel so good to get projects completed?
Enjoy!
  ~Amy

February 29, 2012

Hallway Stripes Inspiration...

I have always wanted to paint stripes in the hallway, but felt is would be too time consuming. Well, I was right. So while I am tackling that project, I will show you some of the inspirational pictures that will make you drool.
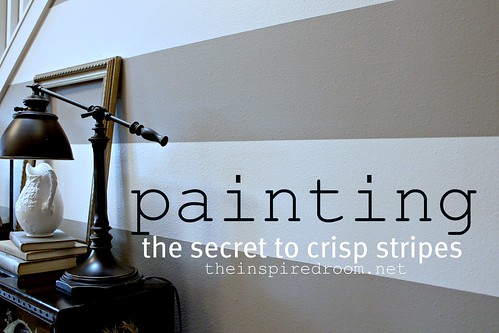
This one is from Melissa at the Inspired Room-

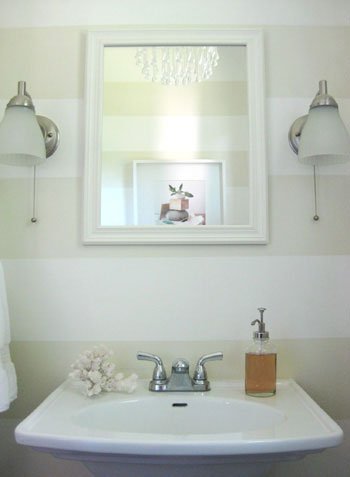
Sherry and John from Young House Love Painted Stripes in their Old Bathroom-at the Old House
new-half-bathroom-web

This one from It's the Little Things that Make a House a Home:

Stephen and Brittany's Hallway:
Pinned Image

So while the girls are visiting their aunt tonight, I'll be measuring and taping, using the level again and again. Wish me luck!
Are you a fan of stripes?

Enjoy!
  ~Amy

February 28, 2012

Ikea Finds...

I went to Ikea a few weeks ago to browse for things I need for my new craft area I am creating in the enclosed patio area of the house. I can't wait to start that project. A place where everything will be organized and I don't have to search through drawers and cabinets to find what I am looking for. There will be areas to store:
    
     *Fabric Scraps and Fabric
     *Media Equipment
     *Scrapbooking Materials
     *Glue Products
     *Coloring Products
     *Kids' Books and Art Supplies
     *Paper and Stickers
     *Catalogs and Magazines
And the list goes on and on...
While I was at Ikea though I spoted some cute things that I picked up.
These plants were ONLY a dollar and the little silver tins/pots were seventy-nine cents. Talk about a steal. I also like having the sheepskin rugs to throw over a basket of toys or a chair. The three little picture frames are for the gallery wall I am planning once the hallway painting project is completed. (More on the hallway tomorrow)

To place the pots in the pots, I first placed rocks in the bottom:
Then I placed the plants inside the pots:
I am happy to say the plants are still alive. You only have to water them once the soil is dry.

Plant anything lately? Are you building a craft area in your house?

Enjoy!
  ~Amy

February 27, 2012

Painted Kitchen....

After painting the dining room the blue-gray-green color, I also thought the kitchen needed some paint too.
I pulled out the fridge to paint behind it and then painted the other walls.


Since the kitchen is so little it didn't take much time to complete this project. I just trimmed along the cabinets and countertops.


Now that the painting is finished, I still have to:
     *Paint the cabinets
     *Install New Microwave
     *New light fixture
     *Install new French doors
     *New hardware on the cabinets (you can see the one handle is broken)
     *Maybe update the countertops
My to-do list goes on and on. Does yours also? I guess our houses are never really how we want them to be!


Enjoy!
  Amy